Hi everyone, today you’ll learn how to install Kubernetes (K3s to be specific) on an EC2 instance.
First things first, what is Kubernetes?
Kubernetes, or K8s for short, is an open-source container-orchestration tool designed by Google. It’s used for bundling and managing clusters of containerized applications — a process known as ‘orchestration’ in the computing world. The name Kubernetes originates from Greek, meaning helmsman or pilot.
Prerequisites: AWS Account with Necessary permissions to create an EC2 instance
Step 1
Create an EC2 instance
Log in to the AWS management console console.aws.amazon.com
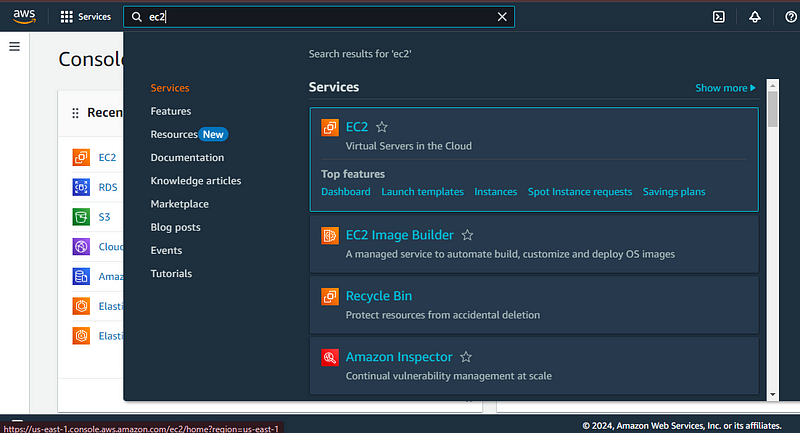
Search for EC2 and click the first option
Scroll down and click Launch Instance
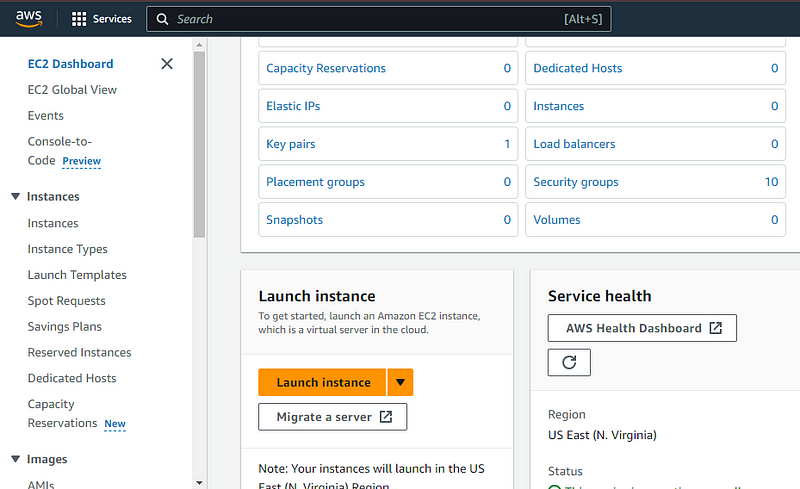
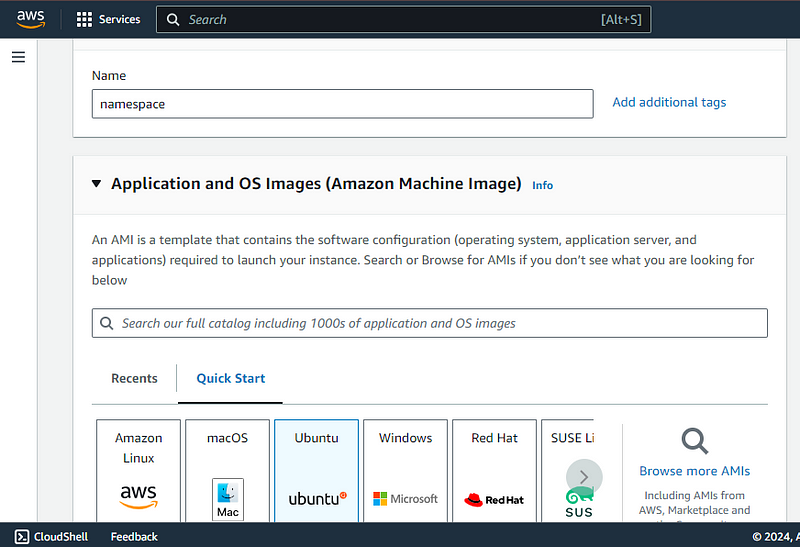
I will name my instance namespace
For AMI, we will use Ubuntu AMI
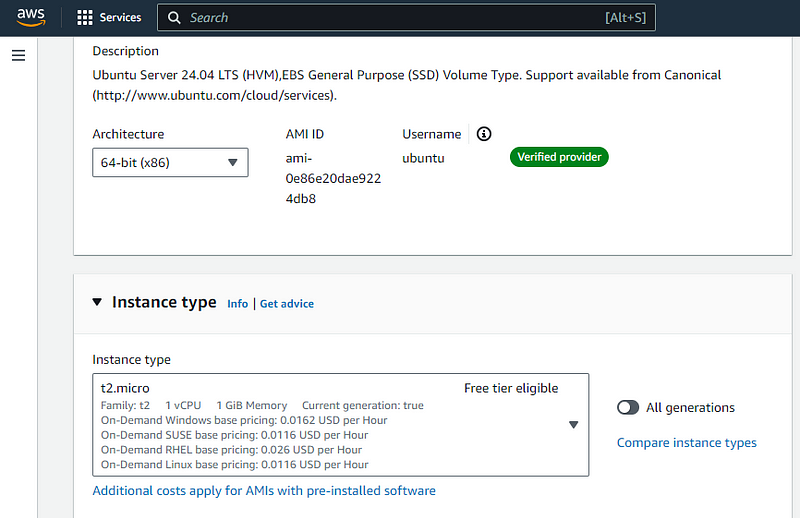
and for instance type, For the sake of this tutorial, we will use t2.micro (since I am in US-EAST-1) If you don’t see t2.micro, feel free to go with t3.micro.
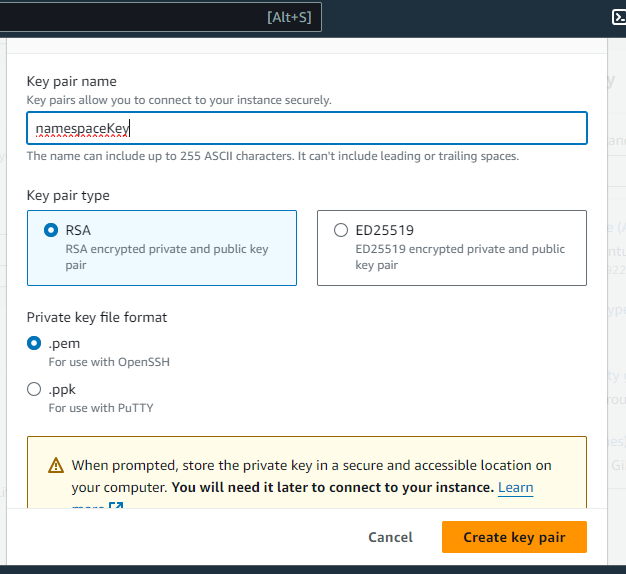
We will create a new key pair and name it namespaceKey
So Click Create a new keypair
Note: Be careful with this file because if anyone has access to it, they will have access to your VM and we don’t want that to happen.
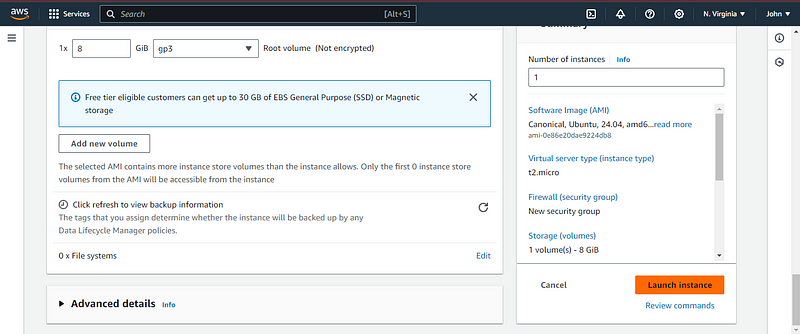
Under the network section security, leave options as default.
The next step is to click Launch Instance
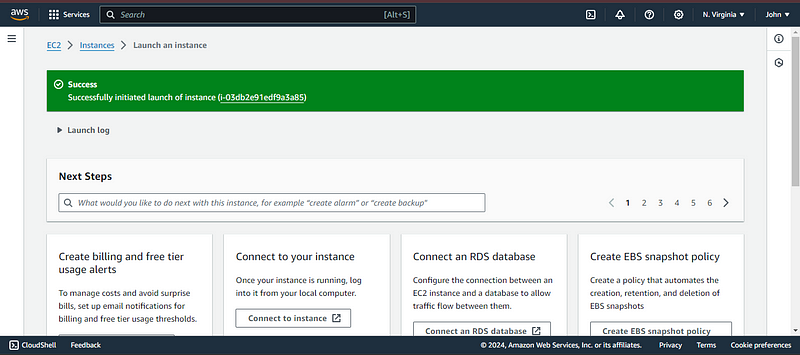
You should see this.
Step 2
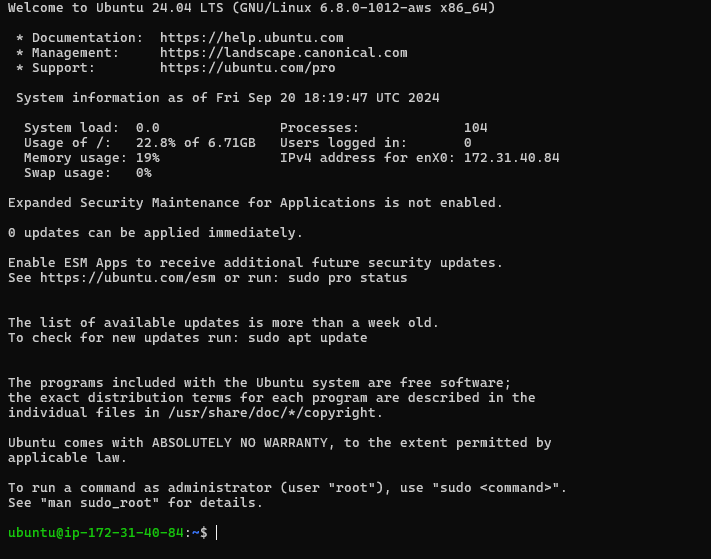
SSH into your VM
So after creating the VM, we will login to the VM, I will be using Command Prompt to SSH (You can use any way you feel comfortable with),
Hold Windows key and Press Letter R. It will bring up a dialogue Box,
And type
cmd
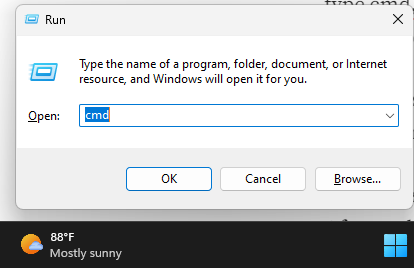
cd to your Downloads folder by typing
cd Downloads
the next is to run the ssh command.
ssh -i "namespaceKey.pem" ubuntu@ip-of-ec2
Note: Replace “ip-of-ec2” with the IP address of your VM

Step 3
Install Kubernetes (k3s)
To install Kubernetes, you will run the following commands:
sudo apt update
curl -sfL https://get.k3s.io | K3S_KUBECONFIG_MODE="644" sh -

# Start k3s
sudo systemctl enable k3s
sudo systemctl start k3s

# Verify k3s installation
kubectl get nodes
😁😁😁, Kubernetes has been installed, but we want to do more, don’t we???
Step 5 (Optional)
Deploy a Netflix clone application that looks like this
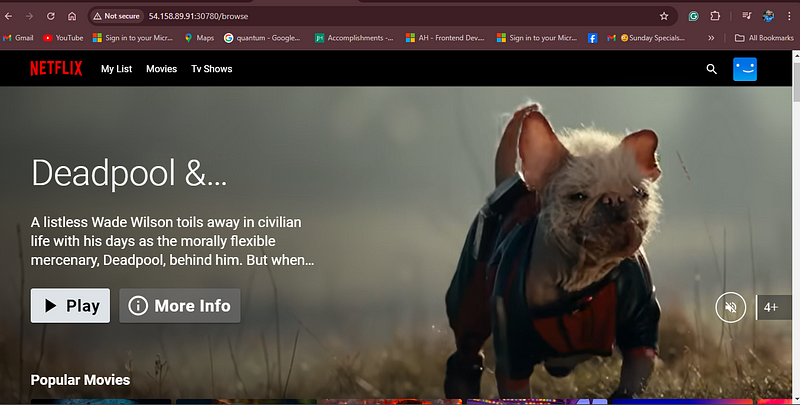
To deploy this app, you will run the following commands:
kubectl create deployment netflix --image johnojabo1/netflix
you should see an output like this:

The deployment has been created, the next step is to create a load balancer service that will expose the deployment to the public. Run the following commands:
kubectl expose deploy netflix --type=LoadBalancer --port=80
The next step is to open the port on the security group so users can view the app. Run this command to get the port:
kubectl get svc
This should be the output, so copy the port number that is highlighted below.

Go to the EC2 dashboard on the AWS management console and click the VM we created, Click Security below:
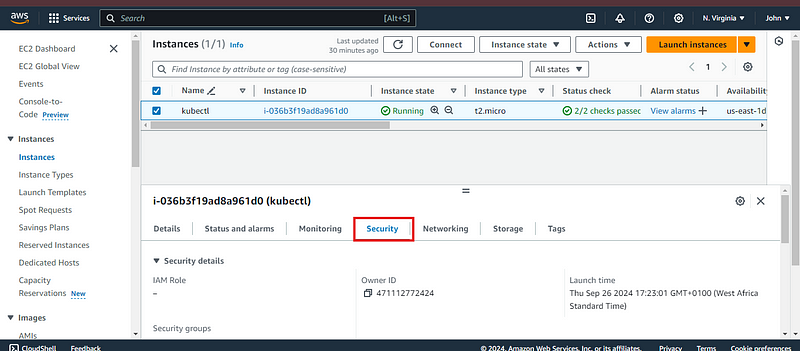
Scroll down and click your security group:
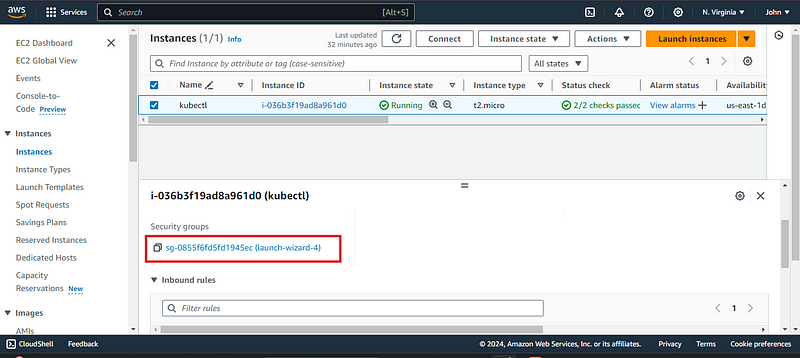
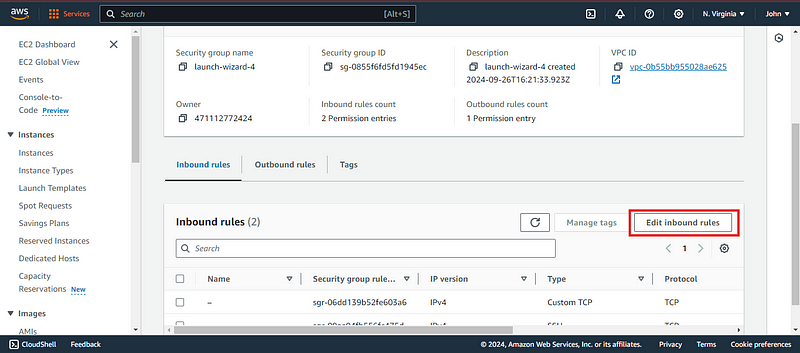
Now, Click Edit Inbound Rules
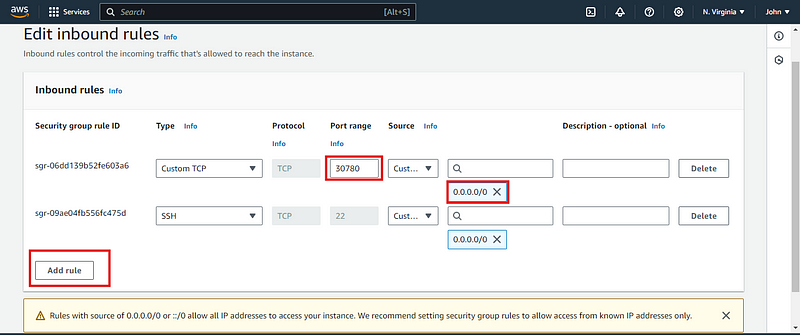
Then Click Add Rule, set the type to custom “TCP” and the protocol to “TCP,” and input the “Port Range.” The source should be 0.0.0.0/0 (Unless you want to add your IP range to allowed connections).
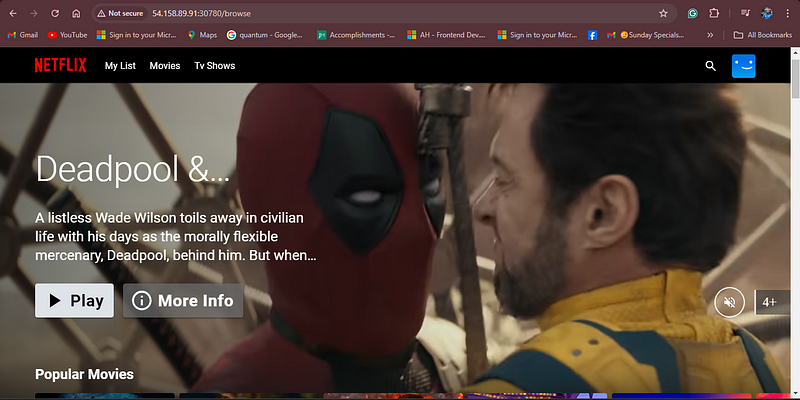
Go back to the EC2 dashboard and copy the IP address of your Instance and add the port to it.
It looks like this HTTP://ip-of-ec2:<service-port>,
You should see a page like this.
And we have come to the end of the project. Don’t forget to leave a lot of claps and share 😁.
After deploying this, Terminate your EC2 instance if it’s not in use.
