Hi guys, today we will be embarking on a creative project: install Apache web server on a Linux machine (Ubuntu preferably) and configure a local DNS (eg, namespacednode.local).
First things first, what is Apache ?
Apache is a free and open-source software that allows users to deploy their websites on the internet. It is one of the oldest and most reliable web servers.
Here are the steps to install and setup Apache with local DNS.
Step 1
Install Apache: to install Apache, run the command below.
sudo apt update && sudo apt install apache2
the command above updates your system repositories and installs apache webserver. The next command is to enable apache.
sudo systemctl start apache2 && sudo systemctl enable apache2
Note: This command may not work if you are using a Windows Subsystem For Linux (WSL) distro. so run.
sudo service apache2 start
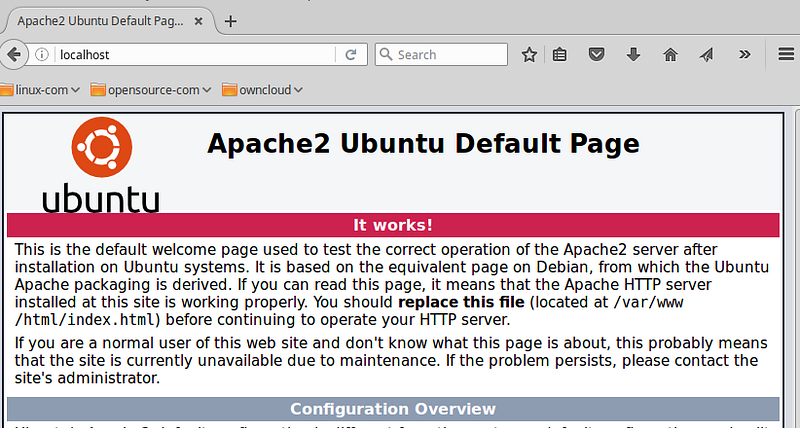
After running this command, go to your browser and paste this “http://localhost/” You should see a page like this.

And that is done, Now to configure your local DNS, I will do this step in 2 ways, for people using WSL and Ubuntu.
Step 2: “Ubuntu”:
To configure local DNS, you will edit your hosts file, and to do that, you will run the following command.
sudo nano /etc/hosts
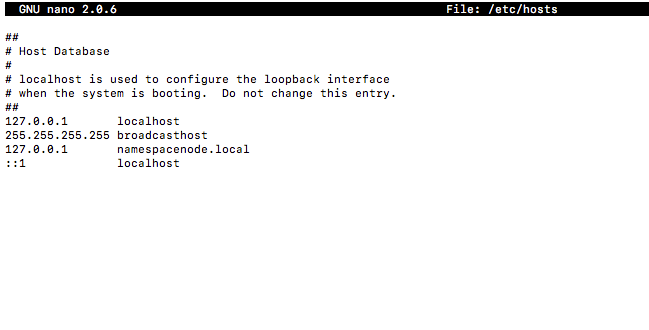
You should see a terminal like this, now add this line at the end of the file
127.0.0.1 yourdomain.local

After adding this line, hold Ctrl S to save and Ctrl X to exit then run this command to restart Apache:
sudo systemctl restart apache2
Now go to your browser and type in yourdomain.local and you will see your default Apache page.
Step 2: “WSL”
To configure local DNS on WSL, it is similar to what you will do on a normal Linux Machine. You will edit your hosts file, and to do that, you will run the following command.
sudo nano /etc/hosts
You should see a terminal like this, now add this line at the end of the file
127.0.0.1 yourdomain.local

The next step is to edit your “Windows Host Files” because your browsers are configured to use it on default.
- Press the Windows key.
- Type Notepad in the search field.
- In the search results, right-click Notepad and select Run as. administrator.
- From Notepad, open the following file: c:\Windows\System32\Drivers\etc\hosts (you may not find it until you change the file settings to All files).
- Add the following line to the end of the file
127.0.0.1 yourdomain.local
6. CTRL S to save your changes.
After adding this line, hold Ctrl S to save and Ctrl X to exit then run this command to restart Apache:
sudo systemctl restart apache2
Now go to your browser and type in yourdomain.local and you will see your default Apache page.
