Hi everyone, today we are going to host a WordPress site on AWS and configure it manually,
By the end of this post, you’ll be able to:
- Create an EC2 instance for the WordPress application
- Install and configure the Apache Web server
- Install and configure WordPress on EC2
- Install and configure MySQL Server for WordPress
- Access your WordPress site from the internet
- Create an SSL Certificate and map your site to your domain name.
Prerequisites: An AWS account with EC2 full Access
First things first
What is WordPress?
WordPress is a free and open-source content management system (CMS) that lets you create and manage websites easily. It is most often used to run blogs, but it can also be used to run e-commerce sites, message boards, and many other popular things. Around 478 million websites are built on WordPress. WordPress dominates the CMS market with a 62.6% share.
There are lots of ways to deploy this on AWS (Especially using managed services like Amazon Lightsail)
Today, we will use AWS EC2 to host our WordPress site, map it to our domain name, and create a valid SSL certificate.
WordPress requires a web server and a database to store its data and run its scripts. You can install WordPress on your computer or a web hosting service, but in this blog post, we’ll use AWS (Amazon Web Services) to host our WordPress site. AWS is a cloud computing platform that provides various services and resources for web development, such as computing, storage, networking, security, and more. AWS offers a free tier for new users, which allows you to use some of its services for free for a limited time.
Step 1: Create an EC2 Instance for WordPress Application
The first step is to create the VM that will run WordPress, and to do that,
Log in to the AWS management console console.aws.amazon.com
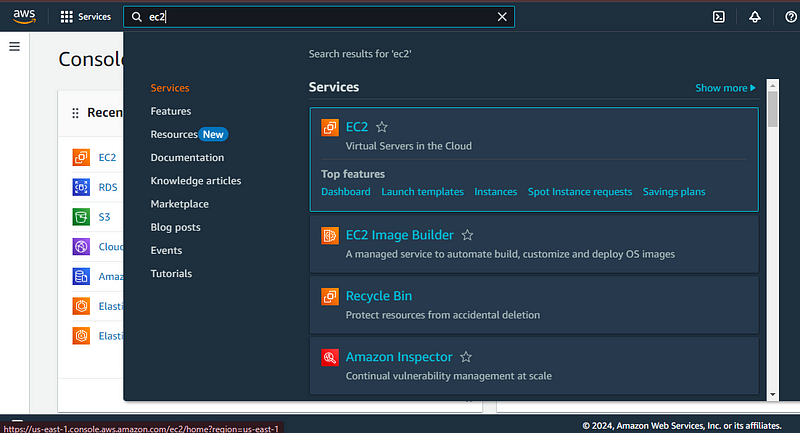
Search for EC2 and click the first option
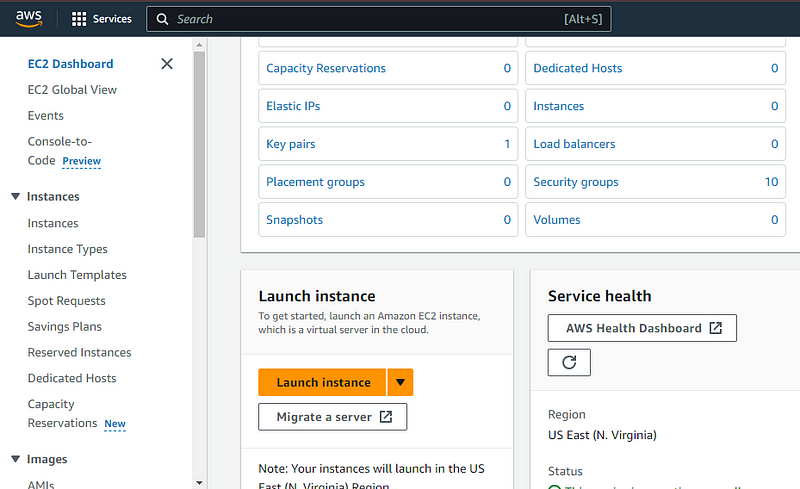
Scroll down and click Launch Instance
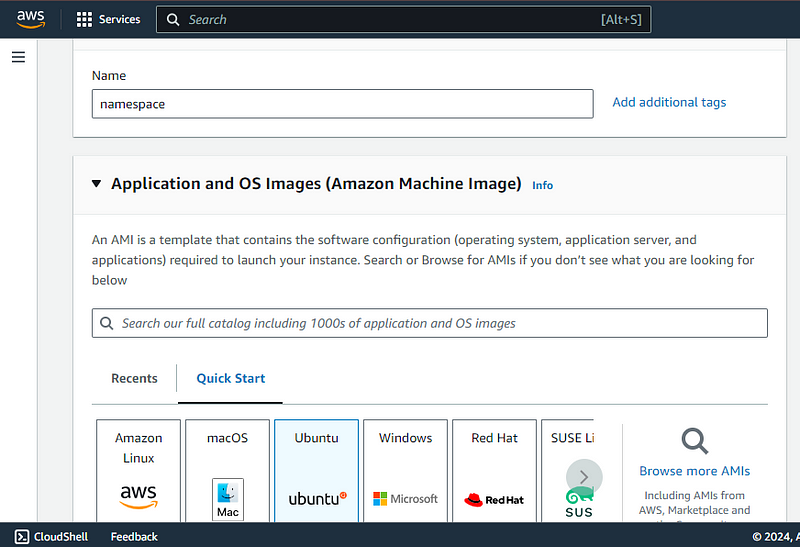
I will name my instance namespace
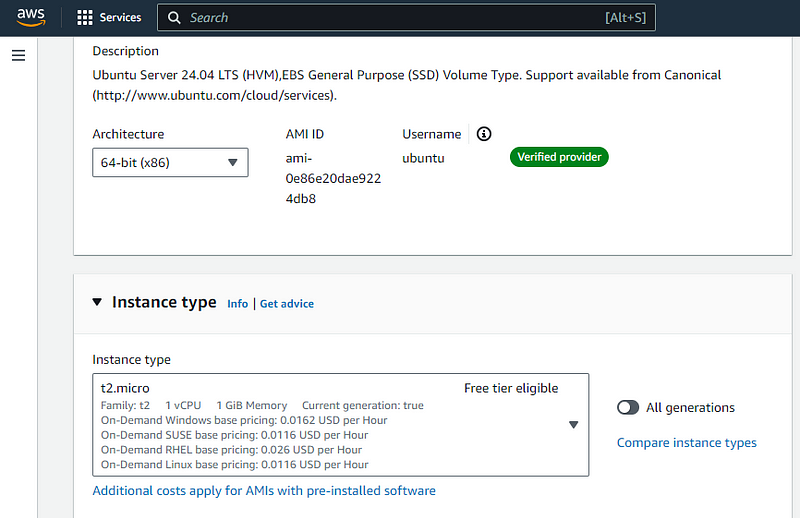
For AMI, we will use Ubuntu AMI
and for instance type, For the sake of this tutorial, we will use t2.micro (since I am in US-EAST-1) if you dont t2.micro, feel free to go with t3.micro.
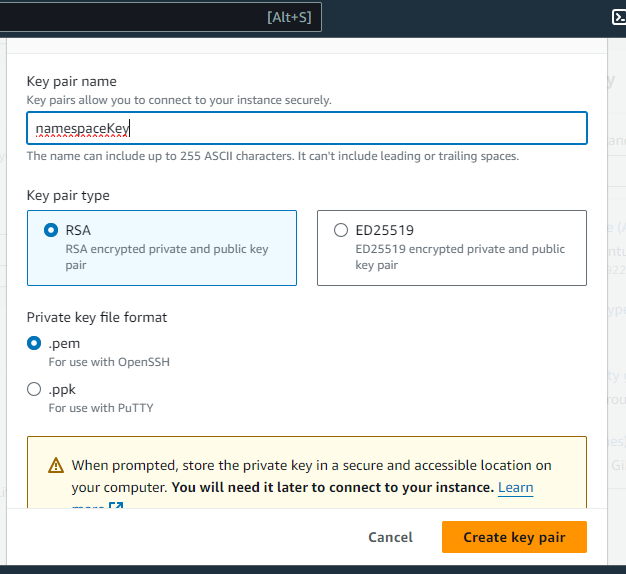
We will create a new keypair and name it namespaceKey
So Click Create a new keypair
Note: Be careful with this file because if any one has access to it, they will have access to your VM and we don’t want that to happen.
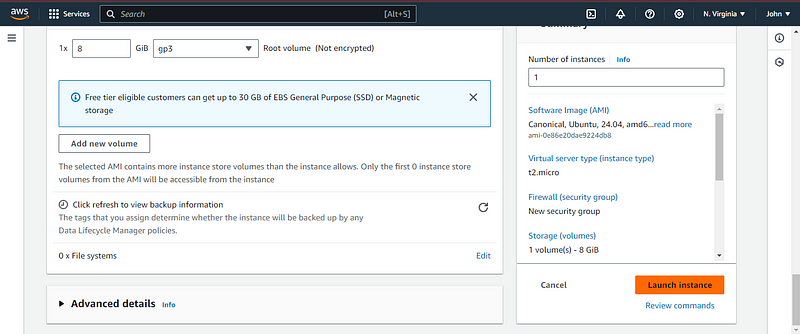
Under the network section security, make sure you check the HTTP and HTTPS options and leave all other options as default.
The next step is to click Launch Instance
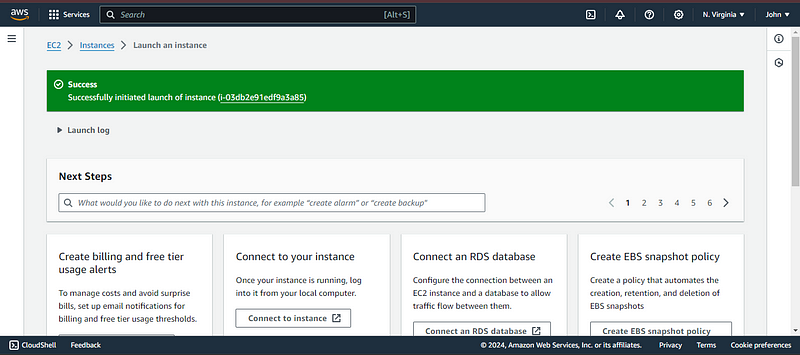
You should see this.
Step 2: Allocate an Ip address for this EC2 instance.
Now click the instance ID in the success message printed on your screen and in the left navigation pane, scroll down to Network and Security and click Elastic IPs.
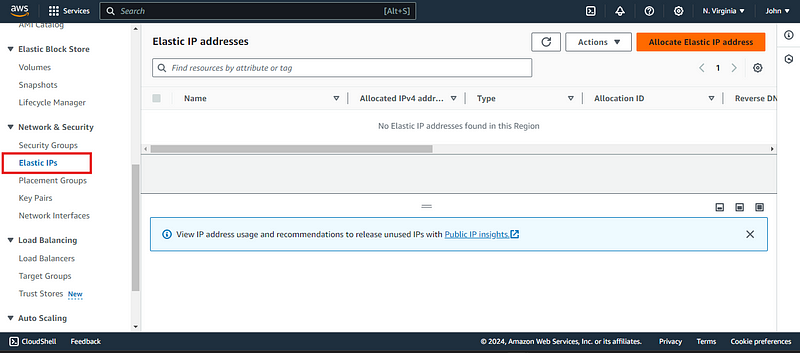
Click allocate Elastic IP Address in the top right corner and click allocate.
After the creation of the Elastic IP, Click the IP just created and Click “Actions” above and Associate IP address
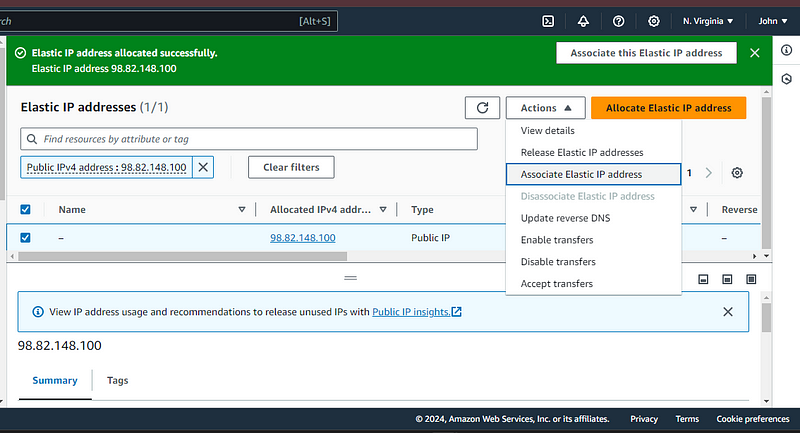
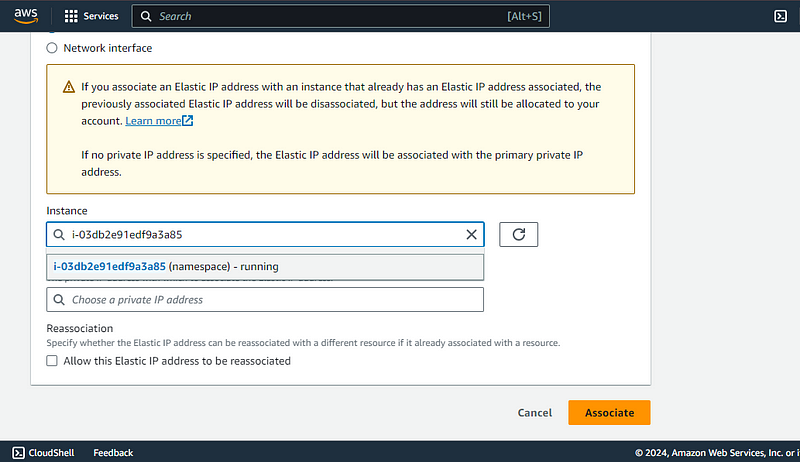
Choose the VM you created previously and click Associate.
Step 3: Authenticate to the VM
So after creating the VM, we will login to the VM, I will be using Command Prompt to SSH (You can use any way you feel comfortable with),
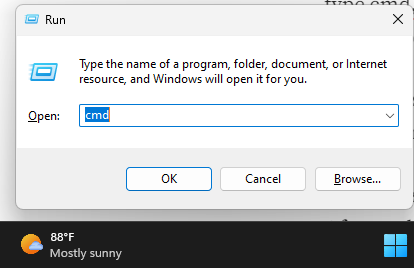
Hold Windows key and Press Letter R. It will bring up a dialogue Box,
And type
cmd
cd to your Downloads folder by typing
cd Downloads
the next is to run the ssh command.
ssh -i "namespaceKey.pem" ubuntu@ip-of-ec2
Note: Replace “ip-of-ec2″ with the IP address of your VM

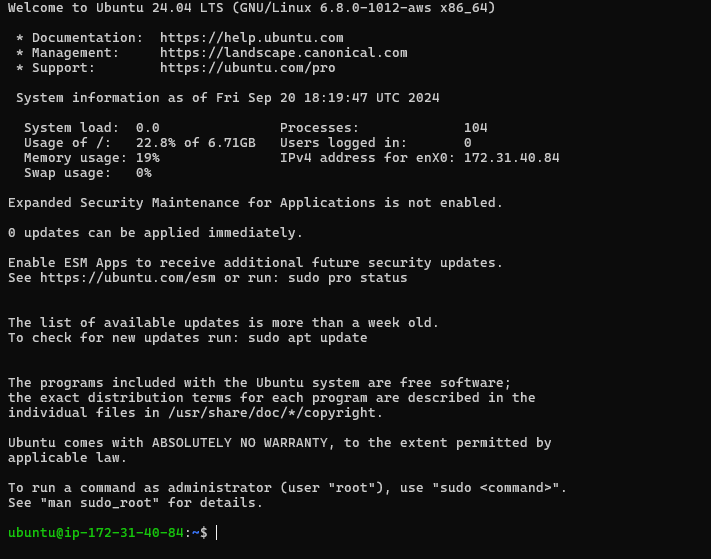
Step 4: Install Apache Web Server and WordPress dependencies.
After authenticating to the Virtual machine, the first command you run is
sudo apt update
this command will update your system repositories
The next command will be used to install Apache web server and all WordPress dependencies
sudo apt install apache2 \
                 ghostscript \
                 libapache2-mod-php \
                 php \
                 php-bcmath \
                 php-curl \
                 php-imagick \
                 php-intl \
                 php-json \
                 php-mbstring \
                 php-mysql \
                 php-xml \
                 php-zip
After the installation, copy the IP of your VM and paste in a web browser with http:// in front of it. You should see a page like this; if not, review your security group.

Step 5: Install MySQL Server on the EC2 instance and setup it’s database.
To install MySQL Server, run this command below
sudo apt install mysql-server
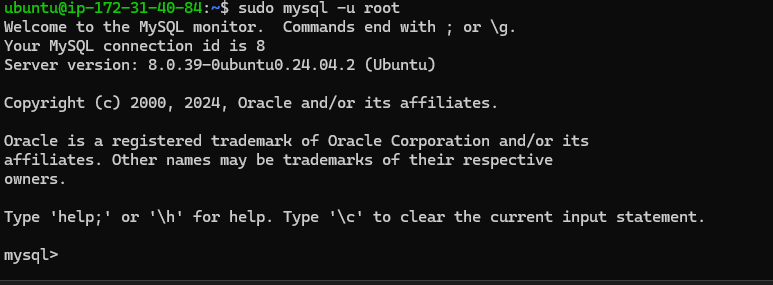
After the installation, you will authenticate to the MySQL server to create the user and database for WordPress. run the command below.
sudo mysql -u root
you should see something like this.
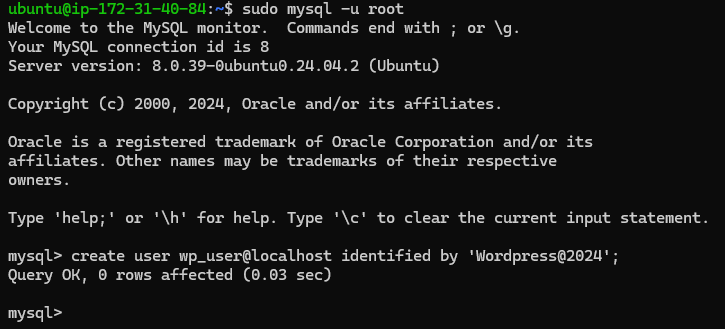
the next is to create a user for WordPress by running this command.
create user wp_user@localhost identified by ‘Wordpress@2024’;
if successful, you should see this.
The next step is to create the database and grant full access to the user by running this command.
create database wp_data;
grant all privileges on wp_data.* to wp_user@localhost;
Use Ctrl D to quit the Terminal
Note: use a secure password; this is for test purposes.
After setting up the database, the next step is to download WordPress and connect it to the database.
Step 6: Download WordPress and connect it to the database.
to download WordPress and extract it, go to your tmp directory
cd /tmp
and download WordPress by visiting wordpress.org/download and copying the download link
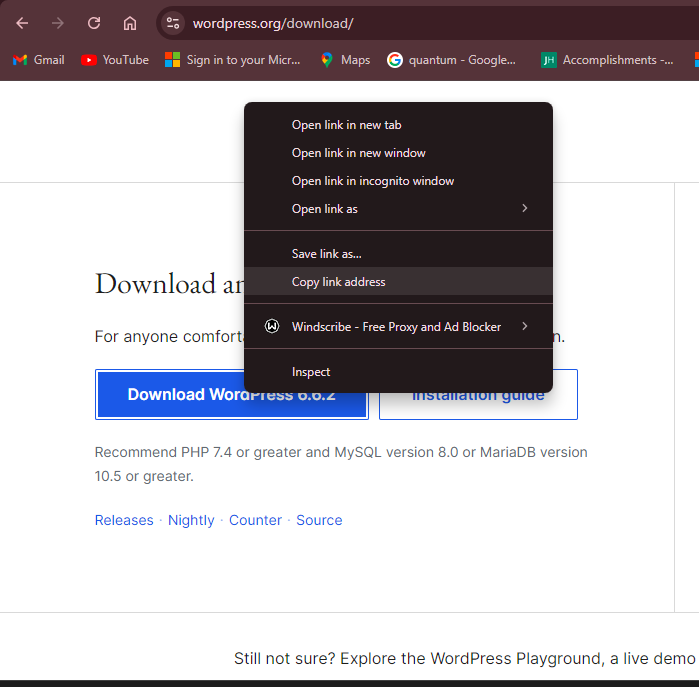
and then run this command in the tmp directory
sudo apt install unzip -y
wget https://wordpress.org/latest.zip
after running this command, you will see a new file was downloaded, now extract it by running
unzip latest.zip
after running this command, you will see a new folder named wordpress was created. now move this folder to the document root of Apache by running
sudo mv wordpress/ /var/www/html/
after running this command, cd to the directory,
cd /var/www/html/
and after that, visit your site again with /wordpress appended, like this
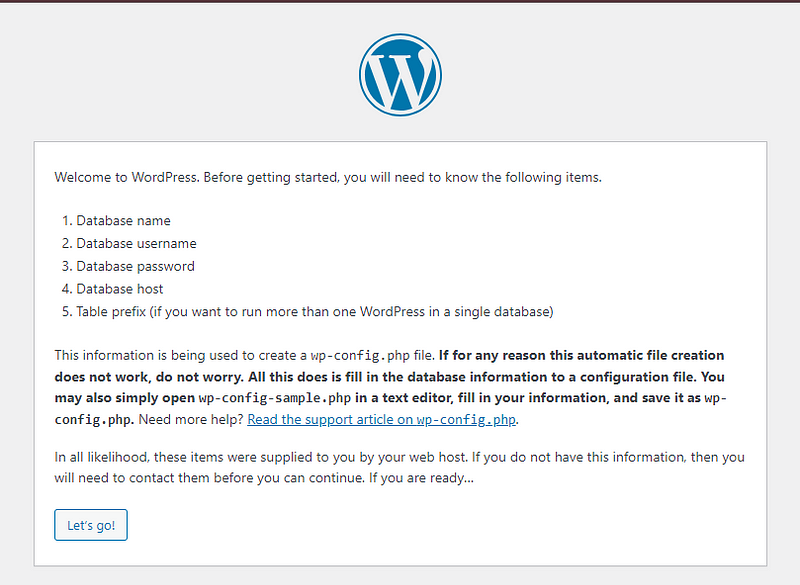
You should see a WordPress installation page where you will be asked to input your database credentials and leave the table prefix default.
after that, you will see an error, Copy the PHP code and go back where you are logged into the VM, Run this command
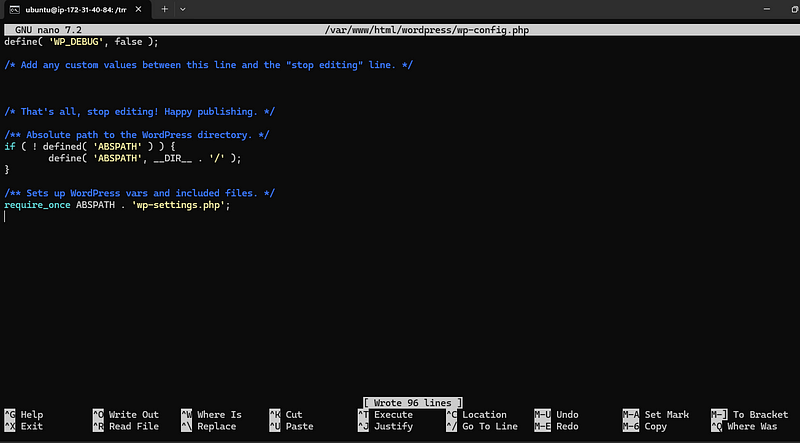
sudo nano /var/www/html/wordpress/wp-config.php
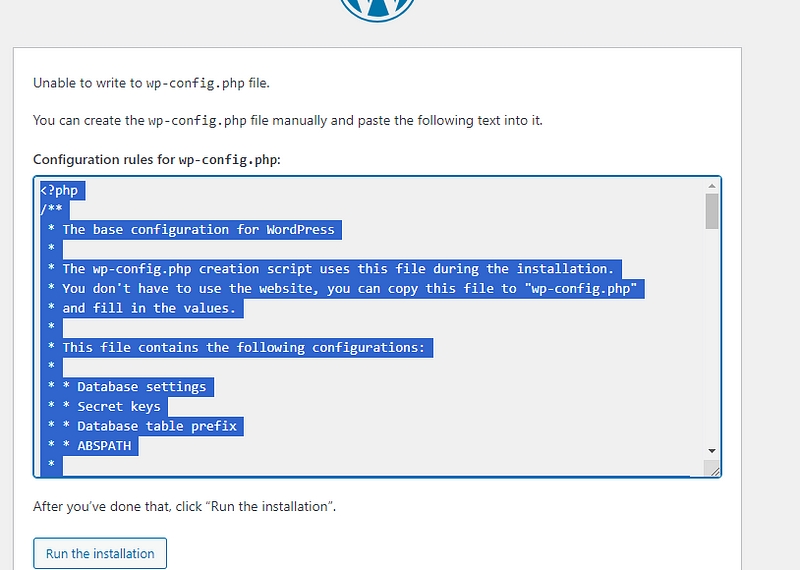
and paste it using Ctrl V
after that, hold Ctrl and press S to save and Ctrl X to quit.
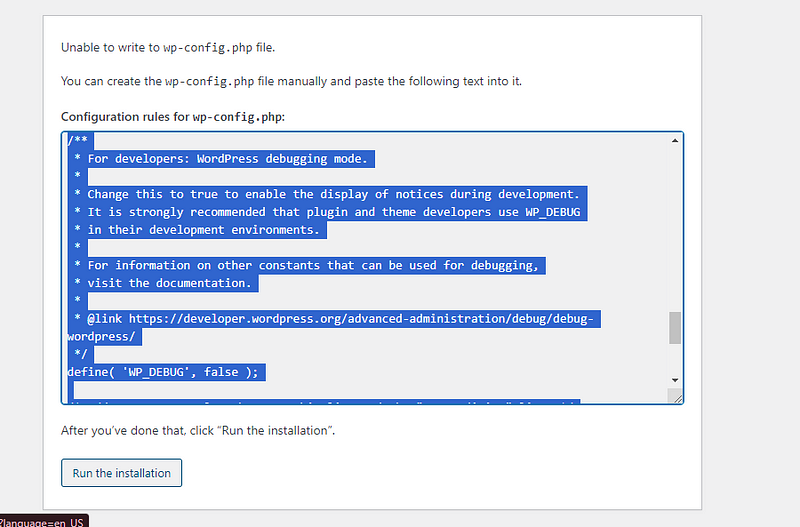
Next, go back to the page where you got the error and click Run Installation.
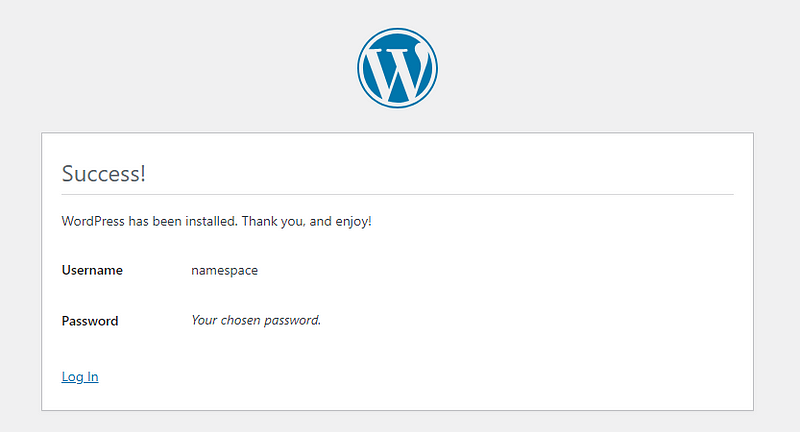
Voila! You should see a page like this asking you to input your site title, username and password. After inputting these credentials, you will be prompted to login.
Step 7: Configure Apache with SSL and map it to your site.
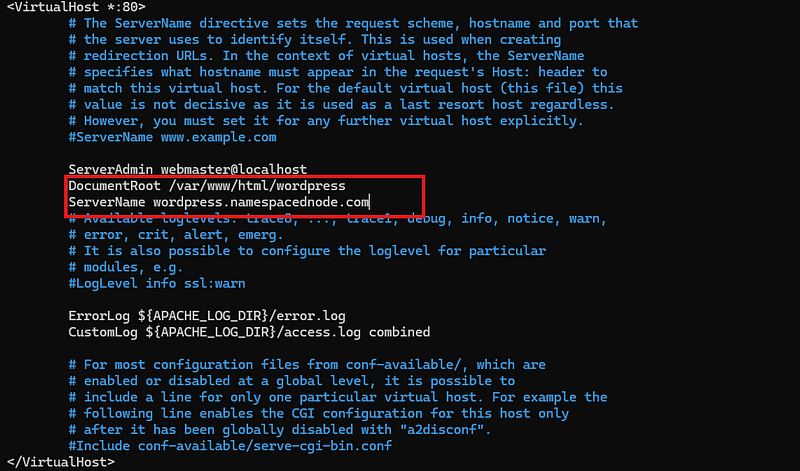
In order to install an SSL certificate for our domain name, we have to edit the default apache configuration to fix the
http://ip-of-vm/wordpress to be http://ip-of-vm/
and to do that, vim into your enabled site by running
sudo nano /etc/apache2/sites-enabled/000-default.conf
and edit the document root by adding /wordpress to it
and we will add two more lines to it and that is
ServerName your-domain-name.com
ServerAlias www.yourdomain-name.com
For me, I will only be adding a server name because I am using a subdomain. Now Ctrl S to save and Ctrl X to exit.
Now run
sudo systemctl restart apache2
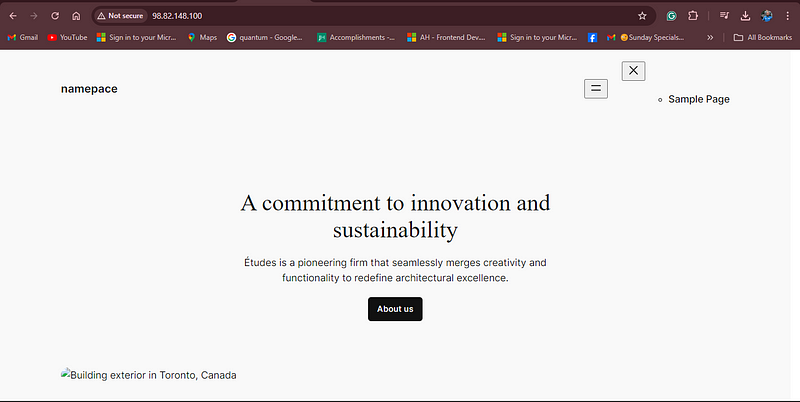
Now go to your browser and type in your IP address without /wordpress, you should see your WordPress site.
And now we will map our domain name to the WordPress site,
For now I am using Godaddy (you can use any domain name provider like Cloud Flare (My favorite), AWS Route 53 etc.)
and create an A record, You can use “@” but for me, I am using a subdomain, so I will type in WordPress, paste my IP address and set the TTL to 600 seconds.

wait for some minutes and type in the domain name on your browser to see the site (You may get a warning that it is not secure because we have not installed an SSL certificate, but proceed.)
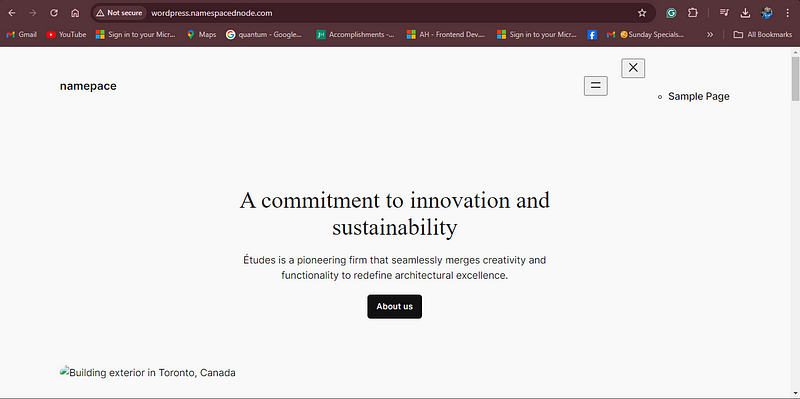
but when you try to login, you will be redirected to your IP address with an Apache 404 error
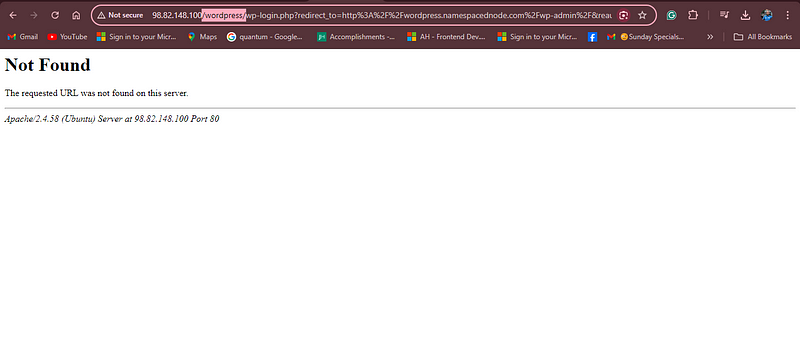
That is because we need to update your site’s URL from MySQL, so log in by running run these commands on your VM.
sudo mysql -u root
UPDATE wp_options SET option_value = 'http://your-new-site-url.com' WHERE option_name = 'siteurl';
UPDATE wp_options SET option_value = 'http://your-new-site-url.com' WHERE option_name = 'home';

To install an SSL cert, we will install a software called certbot using this command.
sudo apt update
sudo apt install certbot python3-certbot-apache
sudo certbot --apache -d yourdomain.com -d www.yourdomain.com
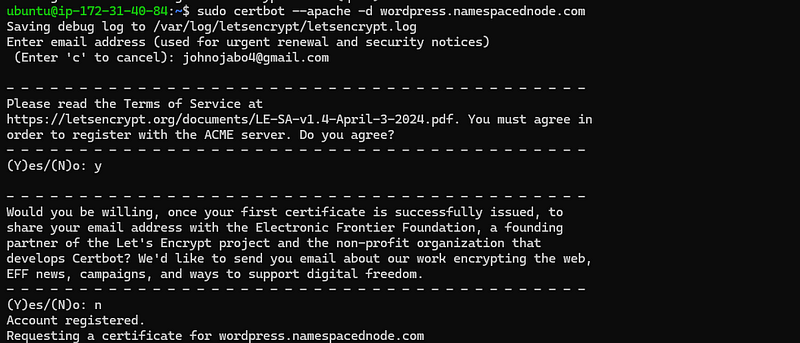
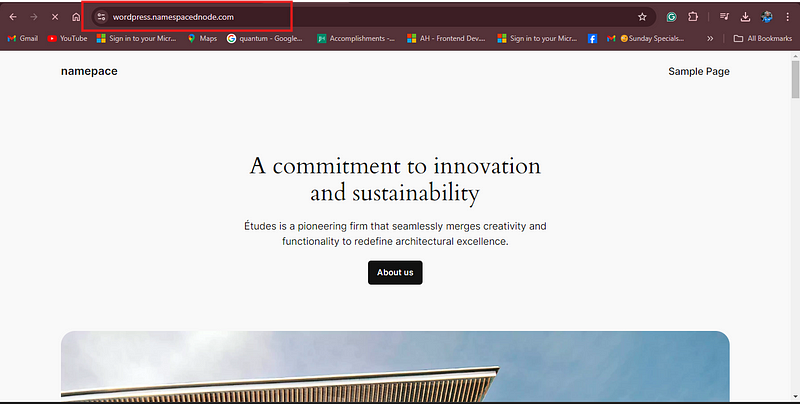
Follow the prompts. To verify that everything is working, go to your domain name, and you will see that it is secure!!!.
Clean Up
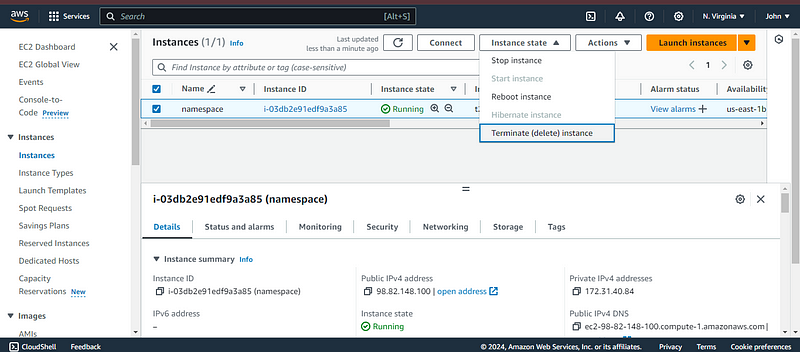
- Terminate the VM by searching for EC2 in the AWS Management Console, then click on the first option, click on running instances, and click on the VM we are working on. On the top right, you will see the instance state; click Terminate.
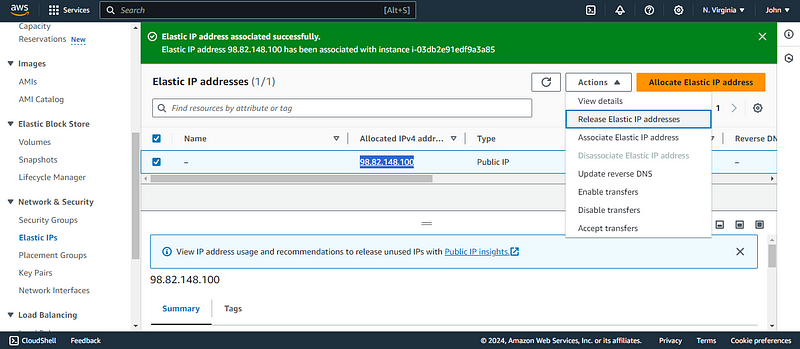
2. On the left navigation pane, scroll down to Elastic IP under networking and security. and click on the recently created IP address. and under actions, click release (else you will be billed if the Elastic IP is not in use.)
Conclusion
In this blog post, you have learned how to deploy a WordPress website on AWS using EC2 and how to install and configure Apache and MySQL, as well as get a free and trusted SSL certificate. By following these steps, you have created a WordPress blog site that is cost-effective.
I hope you have enjoyed this blog post and learned something new and useful. If you have any questions or feedback, please feel free to leave a comment below. I would love to hear from you and help you with your DevOps journey.
Thank you for reading and happy blogging! 😊
